
Is your kitchen feeling a little…blah? You don't need a full-blown renovation to breathe new life into the heart of your home. Sometimes, all it takes is a simple yet impactful update: a backsplash accent. This seemingly small detail can dramatically alter the look and feel of your kitchen, adding personality, style, and a touch of modern flair without breaking the bank. Let's dive into how you can refresh your kitchen instantly with the perfect backsplash accent.
Planning Your Backsplash Accent: Design and Materials
Before you even think about picking up a tile, it's crucial to have a solid plan. The most effective backsplash accents complement your existing kitchen design, enhancing rather than clashing with your countertops, cabinets, and overall aesthetic. Begin by assessing your current style. Is it modern and minimalist, rustic and farmhouse, or perhaps something in between? Understanding your style will guide your material and color choices.
Next, consider the size and shape of your backsplash area. Are you focusing solely on the space behind the stove, or extending it to cover the entire wall? The extent of the project will impact your budget and the complexity of the installation. Measure the area carefully to determine how much material you'll need, adding a little extra for cuts and potential mistakes.
Now, let's talk materials. The options are practically endless, each offering a unique look and feel. Here are some popular choices:
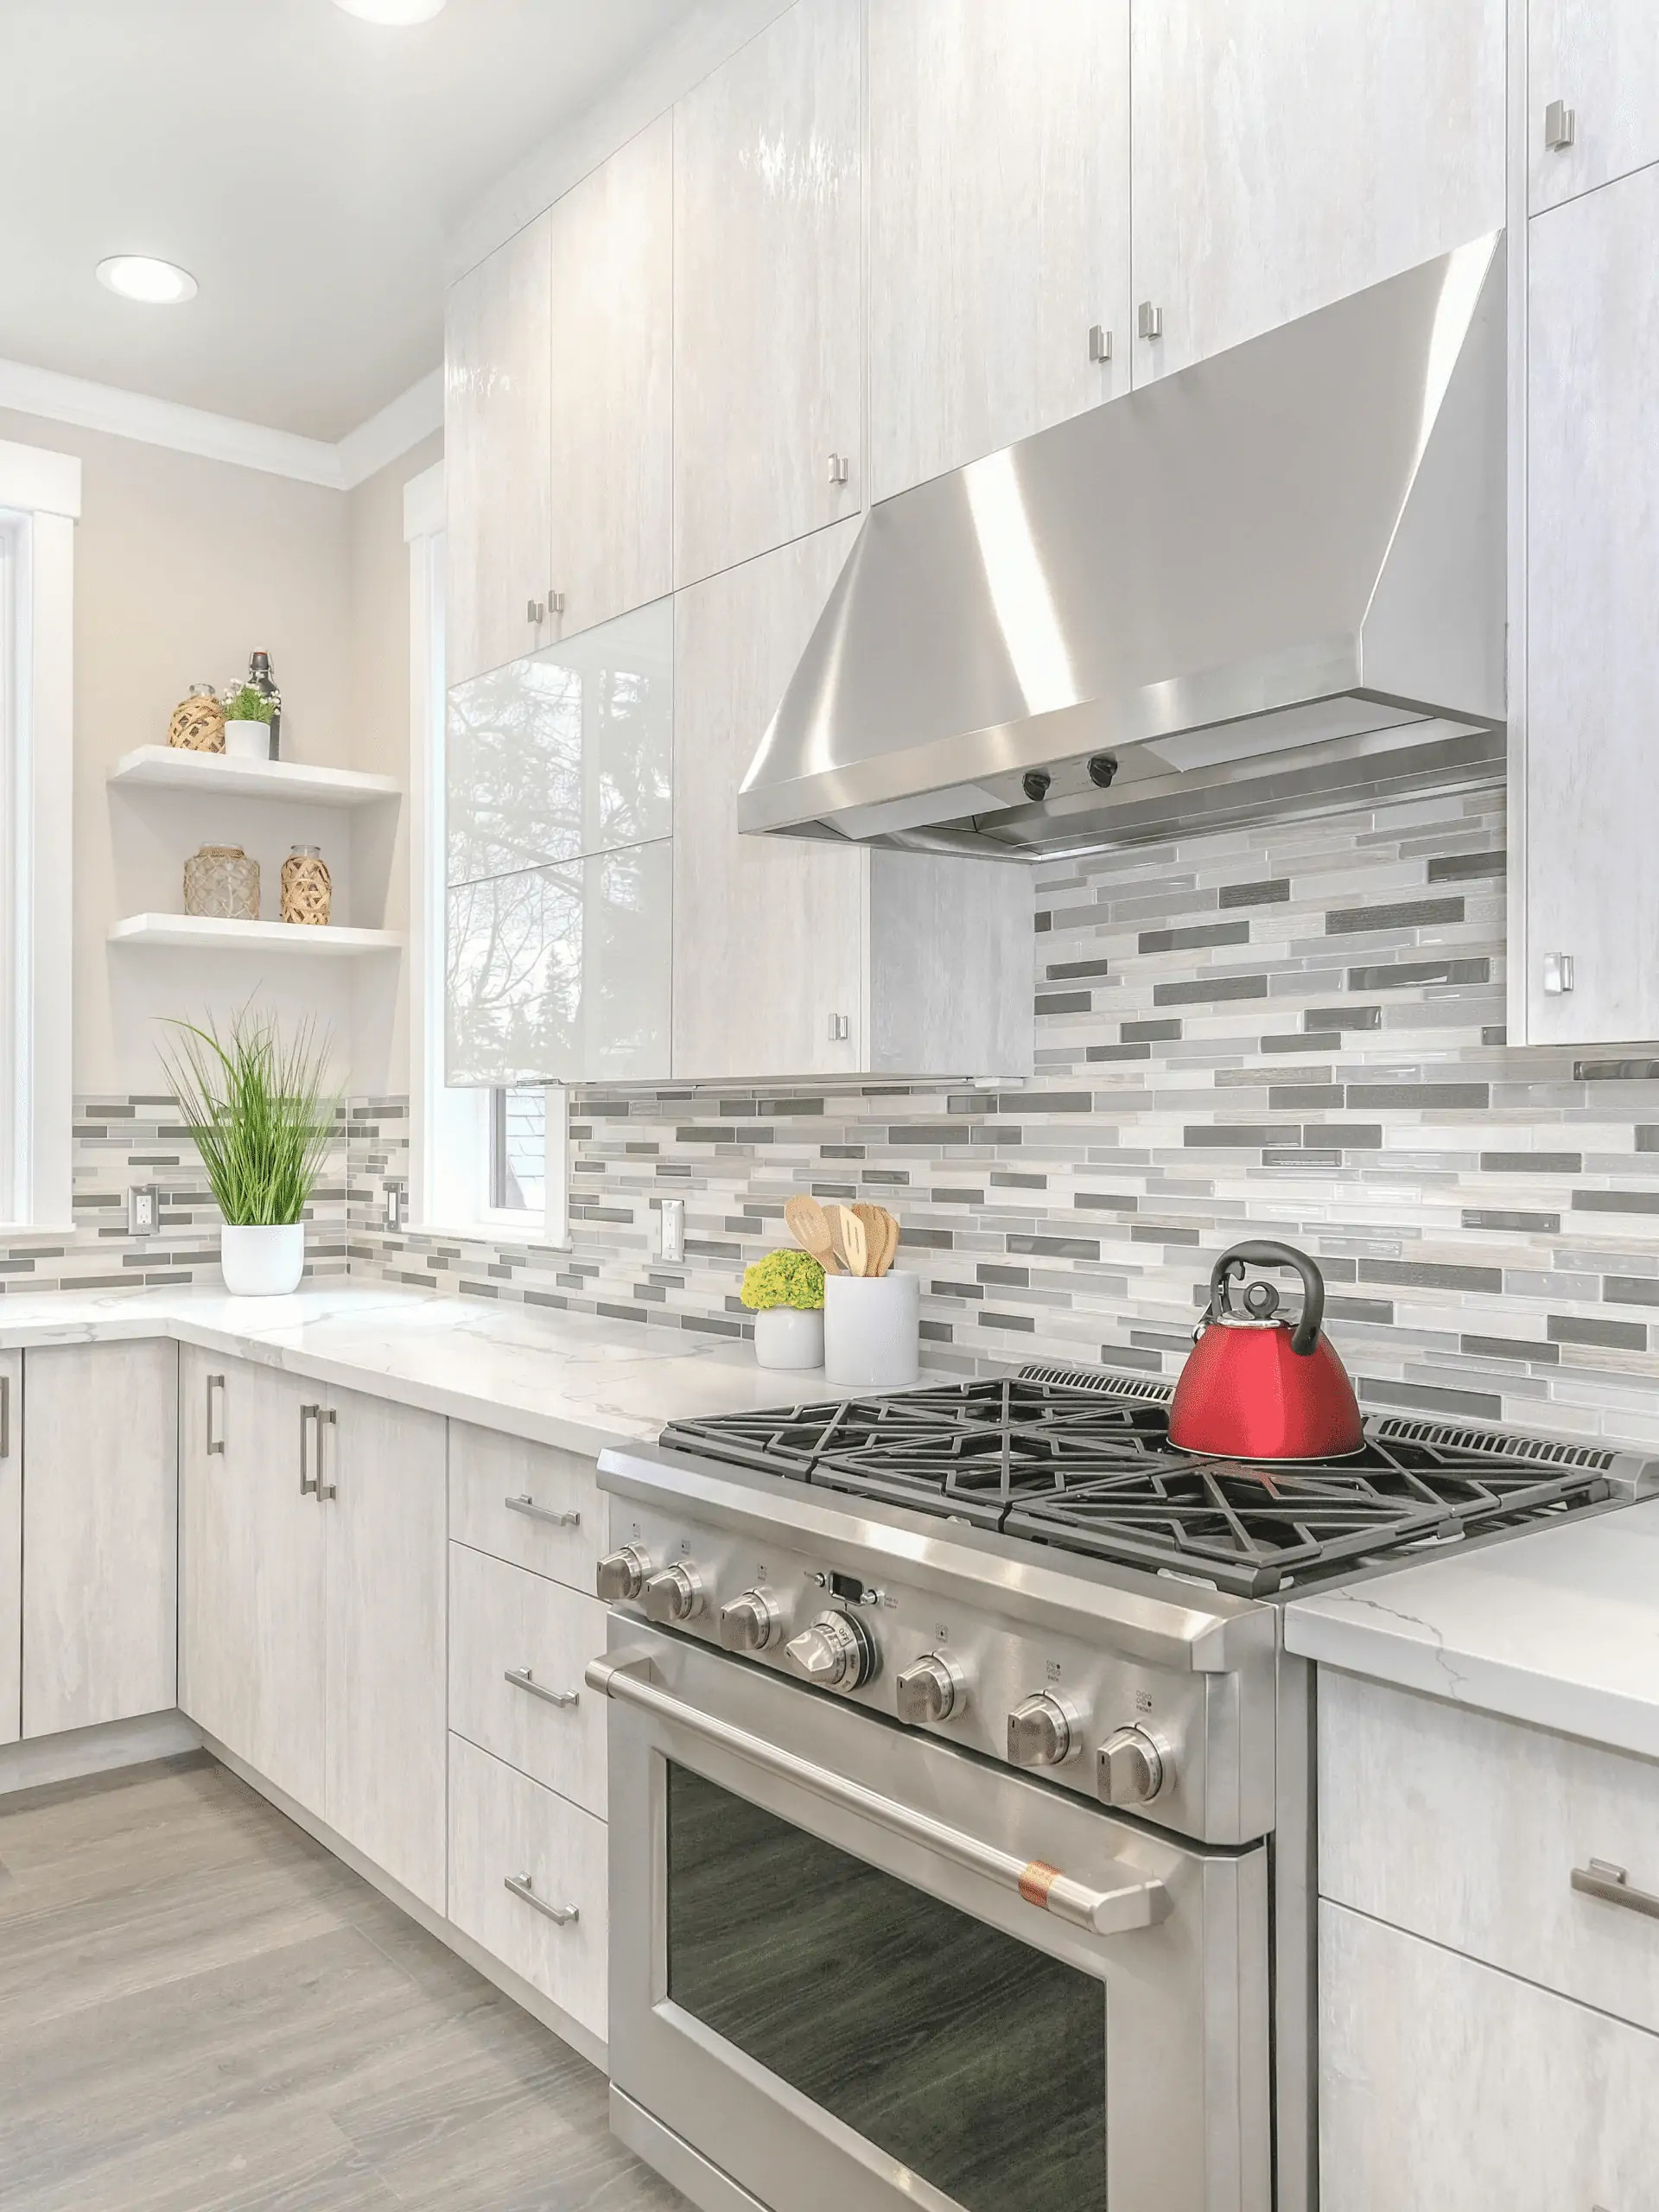
- Tile: The classic choice, tile comes in a vast array of colors, shapes, sizes, and materials, from ceramic and porcelain to glass and natural stone. Tile is durable, easy to clean, and relatively affordable. Consider subway tile for a timeless look, or explore geometric patterns for a more contemporary feel.
- Glass: Glass tiles offer a sleek and modern aesthetic, reflecting light and creating a sense of spaciousness. They're available in various colors and finishes, including frosted, iridescent, and textured.
- Metal: Metal backsplashes, such as stainless steel or copper, add a touch of industrial chic to your kitchen. They're durable and easy to clean, but can show fingerprints and scratches.
- Natural Stone: Marble, granite, and slate offer a luxurious and natural look. Each piece is unique, adding character and depth to your kitchen. However, natural stone can be more expensive and require special care and sealing.
- Peel-and-Stick: For a budget-friendly and DIY-friendly option, consider peel-and-stick backsplashes. These are available in various designs and materials, including tile and metal lookalikes. While not as durable as traditional materials, they're a great option for renters or those looking for a quick and easy update.
Think about the color palette of your kitchen. Are you aiming for a subtle and understated look, or a bold and eye-catching statement? Neutral colors like white, gray, and beige are always a safe bet, while bolder colors like blue, green, or even metallic hues can add personality and vibrancy. Consider using a color wheel to find complementary colors that will enhance your existing décor.
Backsplash Installation: A Step-by-Step Guide
Installing a backsplash can seem daunting, but with the right tools and preparation, it's a manageable DIY project. Here's a step-by-step guide to help you through the process:
Step 1: Preparation is Key. Start by protecting your countertops with drop cloths or plastic sheeting. Clean the backsplash area thoroughly, removing any grease, dirt, or old adhesive. If necessary, sand down any uneven surfaces to ensure a smooth base for your tiles. Use a level to ensure the surface is even.
Step 2: Gather Your Tools and Materials. You'll need the following tools and materials: your chosen backsplash material, tile adhesive (mastic), a notched trowel, a tile cutter (wet saw for tile, utility knife for peel and stick), a level, a measuring tape, a pencil, a grout float, grout sponge, grout, safety glasses, and gloves. Double-check that the adhesive you are using is compatible with the backsplash material you have chosen.
Step 3: Layout Your Design. Before applying any adhesive, dry-fit your tiles to ensure they fit properly and create the desired pattern. Use spacers to maintain consistent grout lines. This step is crucial for visualizing the final result and making any necessary adjustments.
Step 4: Apply the Adhesive. Using the notched trowel, apply a thin, even layer of adhesive to the backsplash area. Hold the trowel at a 45-degree angle and create ridges in the adhesive to ensure proper bonding. Work in small sections to prevent the adhesive from drying out before you can apply the tiles.
Step 5: Install the Backsplash Material. Carefully press each tile or sheet of material into the adhesive, ensuring it's level and aligned with the surrounding tiles. Use spacers to maintain consistent grout lines. For larger tiles, you may need to use a rubber mallet to gently tap them into place.
Step 6: Cut Tiles as Needed. Use a tile cutter (wet saw for tile) to cut tiles to fit around outlets, windows, or other obstacles. Always wear safety glasses when cutting tiles. For peel and stick backsplashes, a utility knife is typically sufficient for making clean cuts.
Step 7: Allow Adhesive to Dry. Allow the adhesive to dry completely according to the manufacturer's instructions. This usually takes at least 24 hours.
Step 8: Apply Grout. Once the adhesive is dry, remove the spacers and apply grout to the grout lines using a grout float. Work in small sections and use a circular motion to ensure the grout fills all the gaps. Remove excess grout with a damp grout sponge.
Step 9: Clean and Seal. After the grout has dried (usually after 24-48 hours), clean the backsplash with a grout haze remover. For natural stone backsplashes, apply a sealant to protect the surface from stains and moisture.
Cutting-Edge Trends and Innovations
The world of backsplash design is constantly evolving, with new materials, technologies, and trends emerging all the time. Here are some cutting-edge innovations to consider:
- Smart Tiles: Some manufacturers are developing "smart" tiles with integrated sensors and lighting. These tiles can be programmed to change color, display information, or even act as touch-sensitive controls for your kitchen appliances.
- 3D-Printed Backsplashes: 3D printing technology is opening up new possibilities for creating custom and intricate backsplash designs. Imagine a backsplash with complex geometric patterns or even personalized artwork.
- Sustainable Materials: As sustainability becomes increasingly important, more manufacturers are using recycled materials to create backsplashes. Options include recycled glass tiles, reclaimed wood, and even backsplashes made from recycled plastic.
- Large Format Tiles: Large format tiles are becoming increasingly popular for backsplashes. These tiles minimize grout lines, creating a clean and modern look.
Strategic Recommendations for a Lasting Impact
To ensure your backsplash accent has a lasting impact, consider these strategic recommendations:
- Invest in Quality Materials: While budget-friendly options are available, investing in quality materials will ensure your backsplash lasts for years to come.
- Consider Future Trends: Choose a design that is both stylish and timeless. Avoid overly trendy designs that may look dated in a few years.
- Pay Attention to Lighting: Proper lighting can enhance the beauty of your backsplash. Consider adding under-cabinet lighting or spotlights to highlight your design.
- Maintain Your Backsplash: Regularly clean your backsplash to prevent stains and grime from building up. Use a mild detergent and a soft cloth. For natural stone backsplashes, use a specialized stone cleaner.
A backsplash accent is a simple yet powerful way to refresh your kitchen instantly. By carefully planning your design, choosing the right materials, and following a detailed installation guide, you can create a stunning focal point that will transform your kitchen into a stylish and inviting space. Now, take a look at your kitchen, envision the possibilities, and get started on your backsplash refresh!